

1. Removing the existing flooring
The first step of the installation is removing the existing flooring. Depending on the state of your old floor, the length and messiness of this stage will vary. We’ll let you know before the process begins if removal and disposal of the old material is a separate fee or if it is included as part of the installation fee.
2. Clean your subfloor
We'll ensure the subfloor is clean, flat, smooth & ready for installation. If the subfloor is not concrete, it may need concrete backer boards. These can cause the height of your floors to vary, requiring different transitions between rooms. This process will also involve cleaning, fixing any cracks, and letting any new concrete cure.
3. Installation
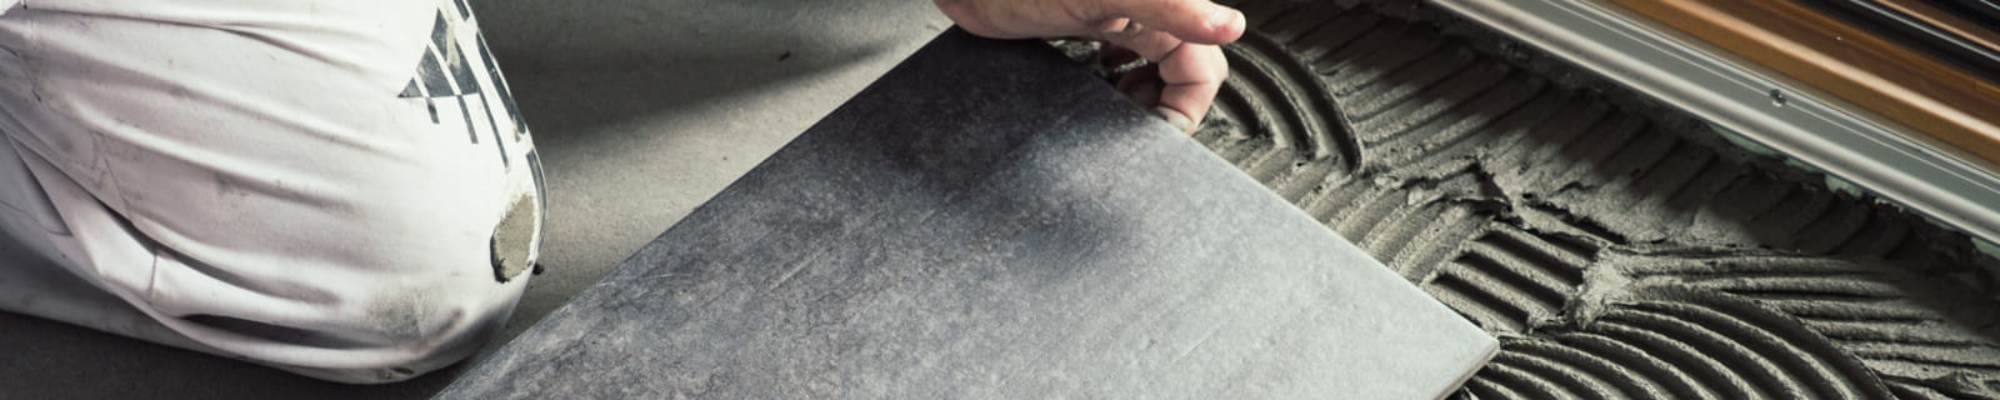
The last step is the installation of the actual tile or stone floors. Our installers will cut or trim the tiles and spread mortar and grout as they lay the tile. New tile installations need time to cure and solidify, so although the installation team has left your home, it will still take at least 48 hours until the tiles can be walked upon.